Introduction
I was first introduced to ice climbing in 2006. I was super lucky: I got mentored by Kevin Mahoney and Bayard Russell Jr. They are some of the best ice climbers in the world and taught me almost everything I know about ice climbing (and climbing in general). When I first started, ice climbing felt totally unnatural and impossible. But over the years, I’ve come to appreciate that ice climbing, when practiced endlessly, can feel just right. It actually feels a bit like music–there are endless variations on a few basic themes. The perfect blend of these themes seems to lead to the feeling of flow.
In this post, I will try to convey what Kevin and Bayard taught me about the three basic body positions in ice climbing are. Combining these positions into the perfect sequence is something I am still learning every day.
Note: This post has been updated with photo links. These links might break over time.
Position 1: The Tripod
The first thing people get taught to do on vertical ice is to avoid the “X” position and adopt the tripod. The X position has both arms and legs outstretched, with both tools and both feet at the same level. The problem with the X position is that as soon as you move any one of your four points of contact, you lose your balance.

The X position is very stable but you can’t move from it.
Instead, you should adopt the “tripod” position, which is really two different positions: swinging and kicking. In the swinging mode, one arm is locked off on one tool, with both feet at the same level. The high arm is outstretched, and you swing from behind your head. There are some subtleties here depending on the angle of the ice. For example, if the ice is very steep, you should thrust your hips into the ice and arch your back, so that you have a bit of room to swing with. Conversely, if the ice is more low-angle, it helps to squat down a bit, so that the ice is closer to your tool.

Swinging mode for the tripod.
In the kicking mode, the two tools are vertically staggered, and one squats down and hangs straight-armed, while kicking from the knees. It’s useful to keep your ankle slightly flexed to improve penetration. It’s also useful to angle your feet so that your frontpoints strike the ice at a perpendicular angle.
Kicking mode for the tripod.
Position 2: The Flag
People sometimes tell me that when they finally understand the tripod position, it is something of an “aha!” moment. I remember mine. I was top-roping Arethusa Falls and suddenly it just made sense to me. However, there is still much to learn! Try climbing a grade 5 pillar, and you will soon see that the tripod just doesn’t work all the time!
Why not? Because with delicate ice features, swinging just anywhere is generally inadvisable. You risk knocking ice on your belayer. It’s also terrifying when you are on lead and you swing into something fragile and 20 pounds of ice lands on your helmet! You don’t want to get knocked off by something like that, or even worse, break the thing you’re climbing on!
So, we often have to be judicious about where we swing and kick. That means that the places on the ice that are tripod-friendly may simply not be available. The Flag, as I call it, is one elegant solution to this problem. You can think of it as a logical progression from the X-position (4 points on, extremely stable, but you can’t move) and the tripod (3 points on, still stable, but you can move).

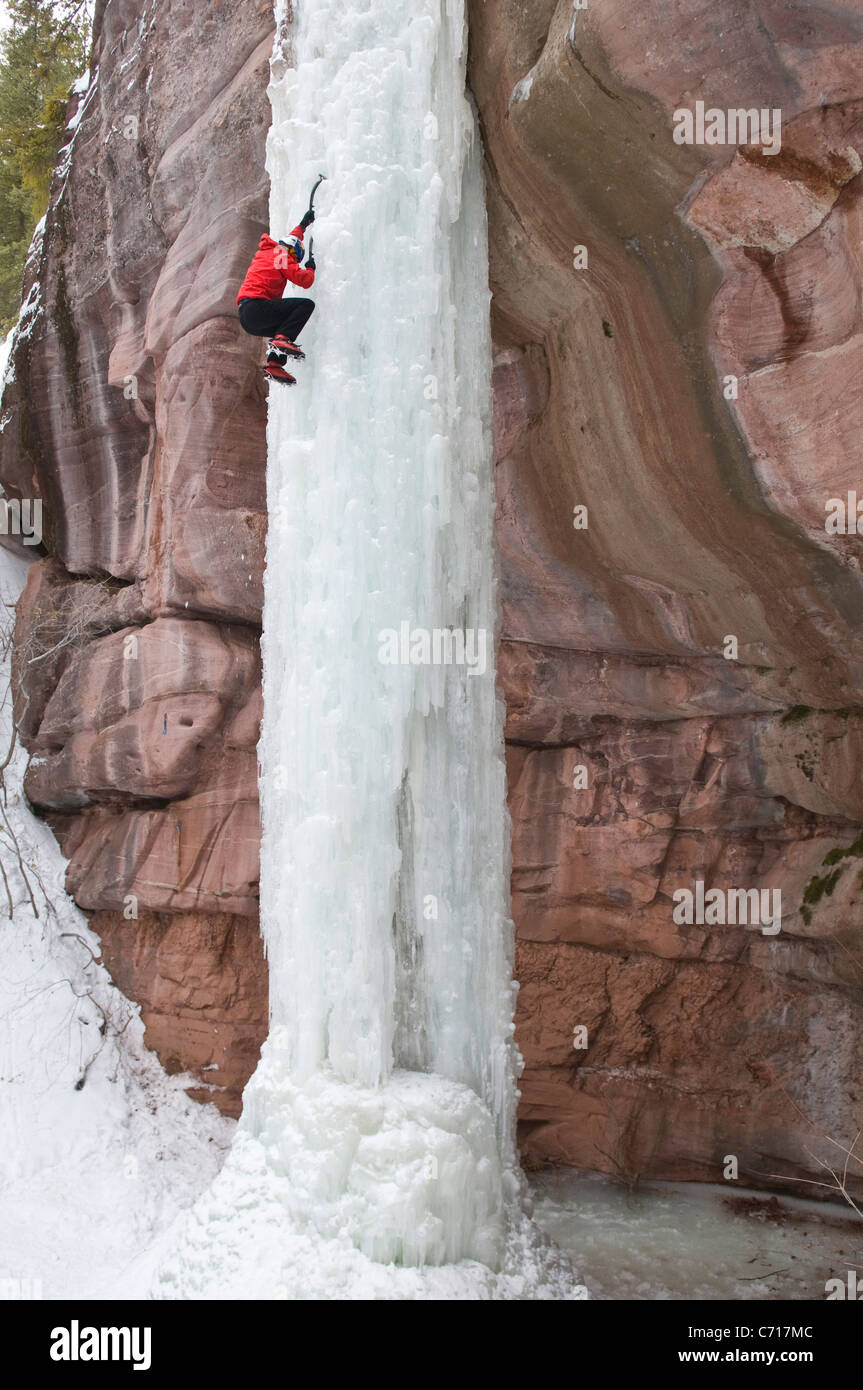
Flagging on a slender feature.
In the flag position, you have only two points on: one tool and the opposite foot directly underneath. So, for example, if your right tool is placed, you should place your left foot on, such that your right foot is flagging, and your left tool is free to swing to the left.
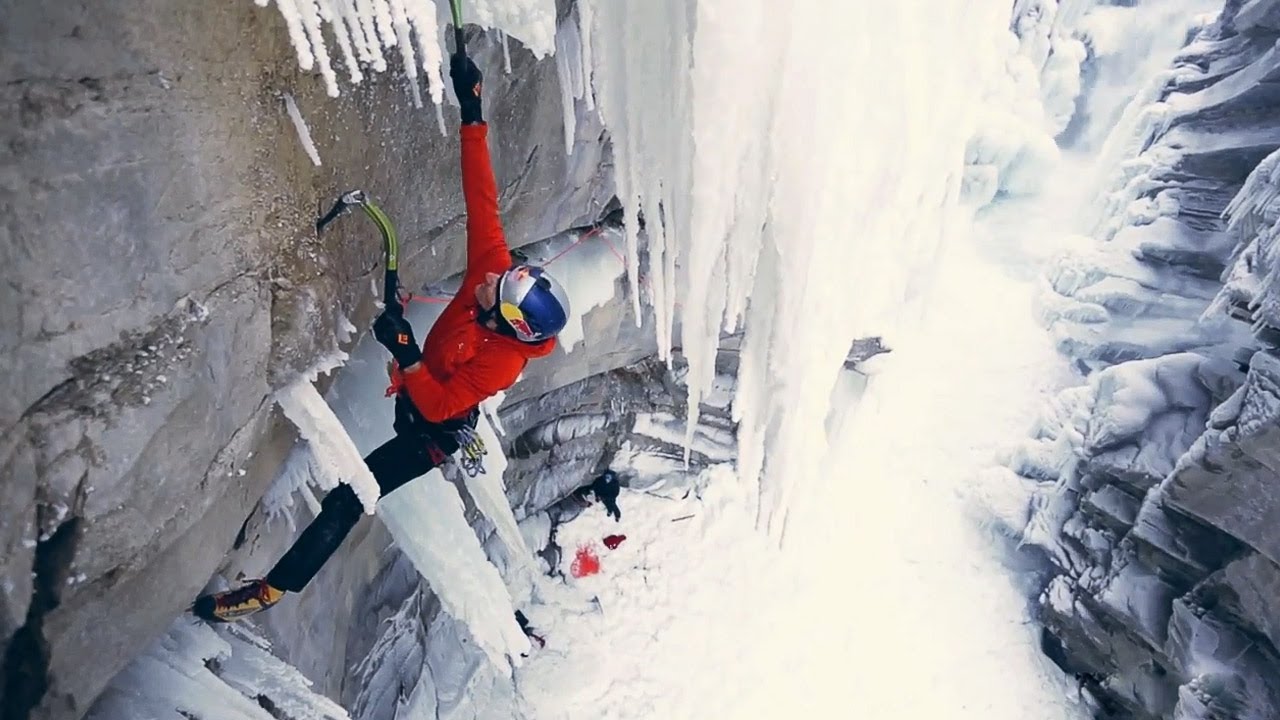
Will Gadd flagging on mixed terrain.
Once you swing out to the left, you will find yourself in something of a “reverse tripod” position in which both tools are up and you are standing on one foot. One way to prevent this from transitioning to the dreaded X position is to stagger your tools. By switching feet and then placing your left foot to the left of your tools, you can regain the tripod. This kind of flag-then-tripod transition is very useful for climbing steep columns, particularly when you need to traverse back and forth across the ice to avoid convex surfaces. Alternatively, you can just switch feet and stack up one flag position after another. That kind of sequence is useful for climbing narrow ribbons of ice.

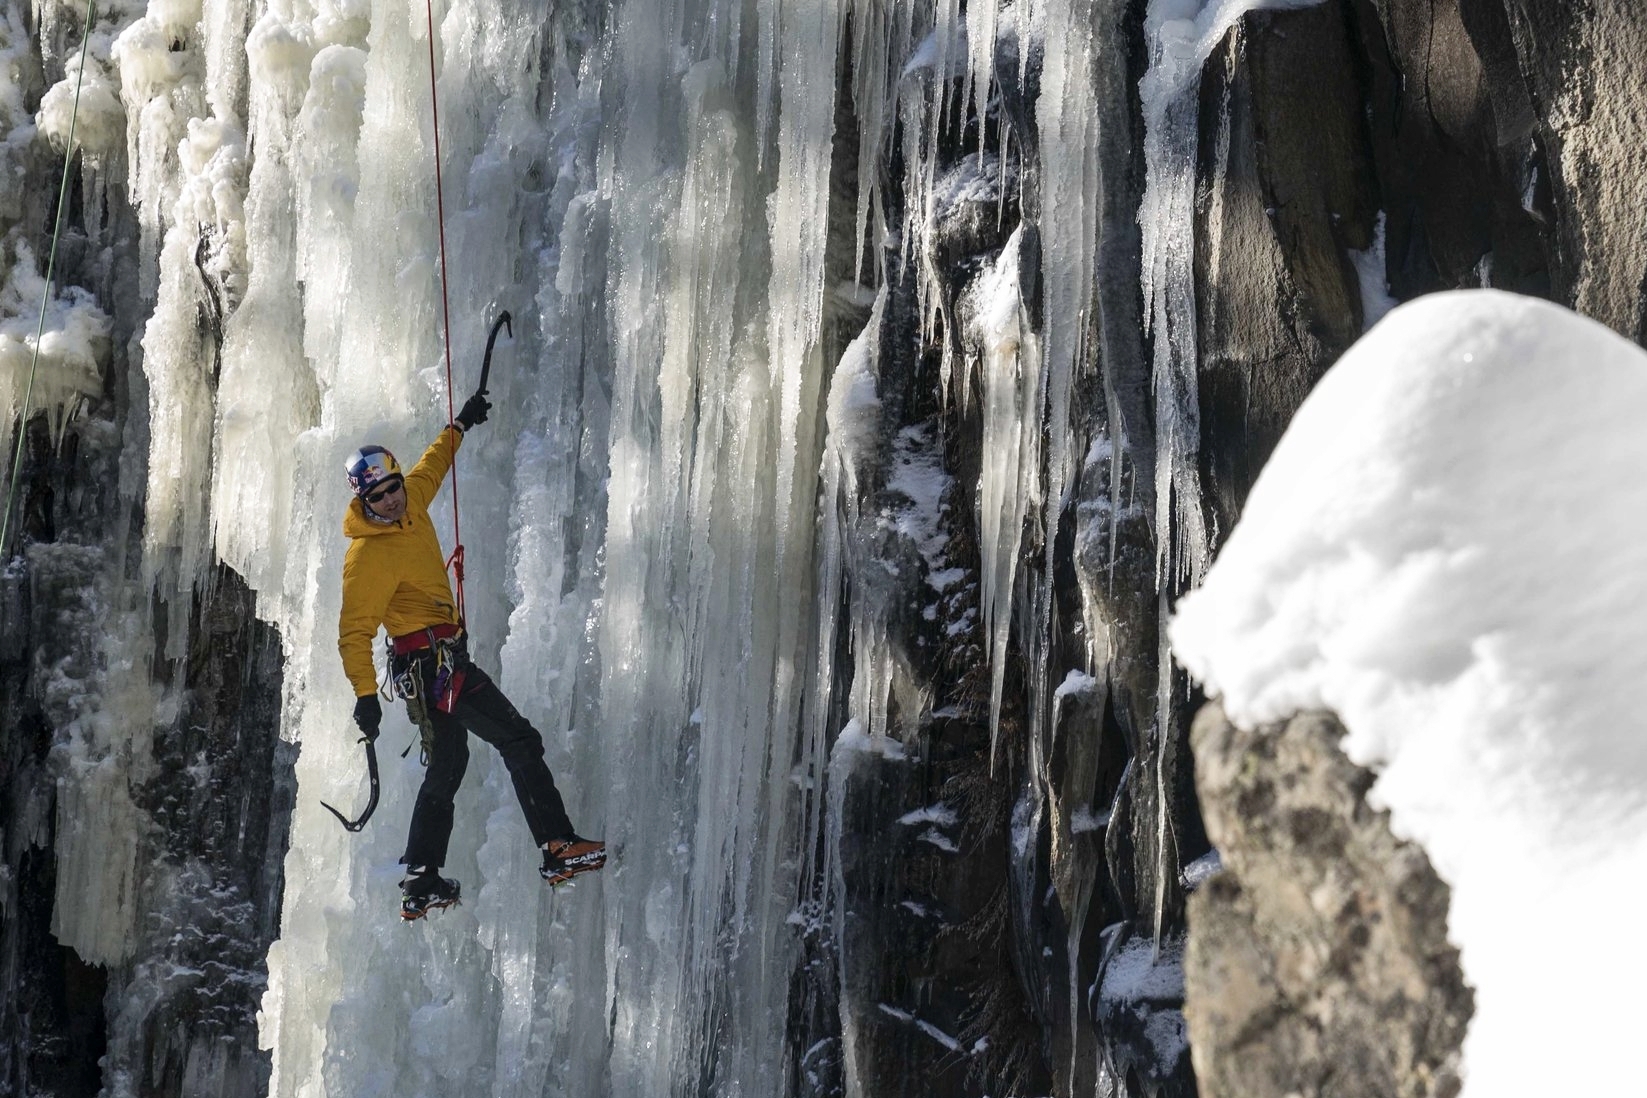
A climber flagging on The Fang. In this case, his or her right foot is perched on a hold, rather than actually flagging. You can think of this as related to the locked door (discussed next).
Position 3: The Locked Door
You can remember the flag position as “opposite hand and foot.” What would happen if you tried the flag position with the same hand and foot? For example, imagine that you had your right tool up with your right foot directly beneath it? Well, that position would be unstable because the left side of your body would want to come off the ice. In rock climbing, that’s the “barn door” position.
The barn door: with both the left tool and foot in, the climber’s body has a tendency to swing back to the left.
To prevent the barn door from occurring in this position, you should place the opposite foot at knee height. So, in my example, your left foot would be angled into the ice at the level of your right knee. If you can find a spot for your left foot where you can turn your toes are pointing left and your left heel is pointing towards your right knee, you can further prevent the barn door effect as you lean left to swing your left tool.

The locked door: left tool up, left foot down, and right foto at knee level. TThe climber can now move right (see the right tool?).
This “same hand and foot” position is useful for climbing in grooves, which many people find very awkward. You can imagine starting in the tripod position, with one tool in the groove and both feet on either side. However, it may happen that the only good foot is inside the groove. Then you can perch your other foot up at knee level, and swing outside the groove. This puts both tools up and one foot on. To avoid converting this to the dreaded X position, you’ll have to transition to one of the other two positions. Isn’t that cool?
Another locked door: right tool up, right foot down, left foot at knee level. The climber can now move left. This position takes advantage of the good left foot.
The “locked door” is also useful on steep ice. For example, imagine you have your right tool up and left foot on, but you actually want to swing right, not left. You could probably finagle some kind of tool switch, but that can be scary. Instead, you can switch feet, move your left foot up at knee height, and swing left.

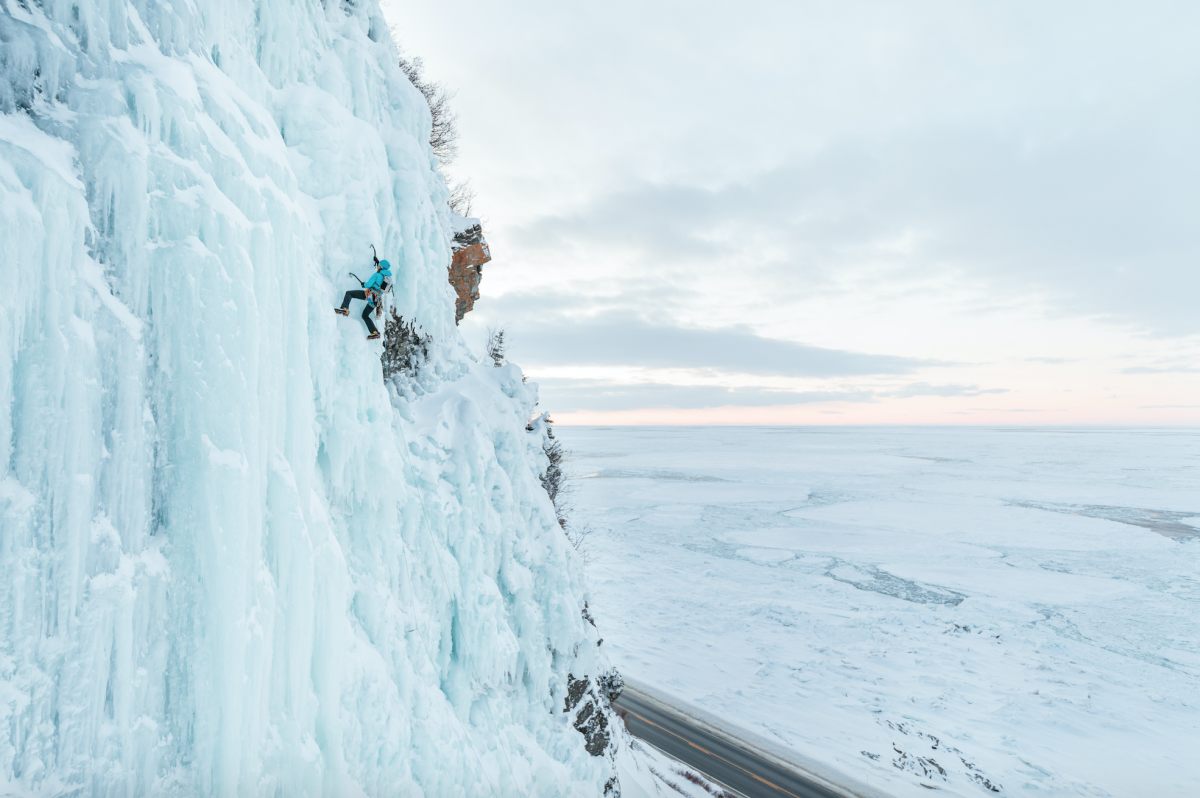
Sasha DiGuilian (left) and Angela VanWiemeersch (right) on Michigan ice. Angela is in the locked door position.
Conclusion
I find leading ice to be deeply engaging in a very different way from rock climbing. A lot of rock routes seem to be about understanding the holds, getting the perfect beta, getting the right gear figured out, or just plain fitness. Ice climbs are different every single time, so you have to understand the ice, climb with perfect technique, and places screws often enough to be safe, but not so often you’ll get pumped out. I am still learning the thousands of ways to integrate these three body positions into the perfect sequence. The process has been very rewarding. Climbing perfectly prevents me from getting scared while leading and provides a huge margin of safety when conditions get bad. So be conservative, work hard for and test every single placement, and practice your technique endlessly! It’s worth it.
Tip: Everybody practices going up steep ice. When you have that figured out, try traversing left and right, either horizontally or diagonally. Being able to traverse, even one or two steps, is absolutely crucial for finding the good spots for your tools, and hence, feeling good on the ice.